Mount Rainier National Park Itinerary and Guide: How to plan an awesome weekend (or longer)
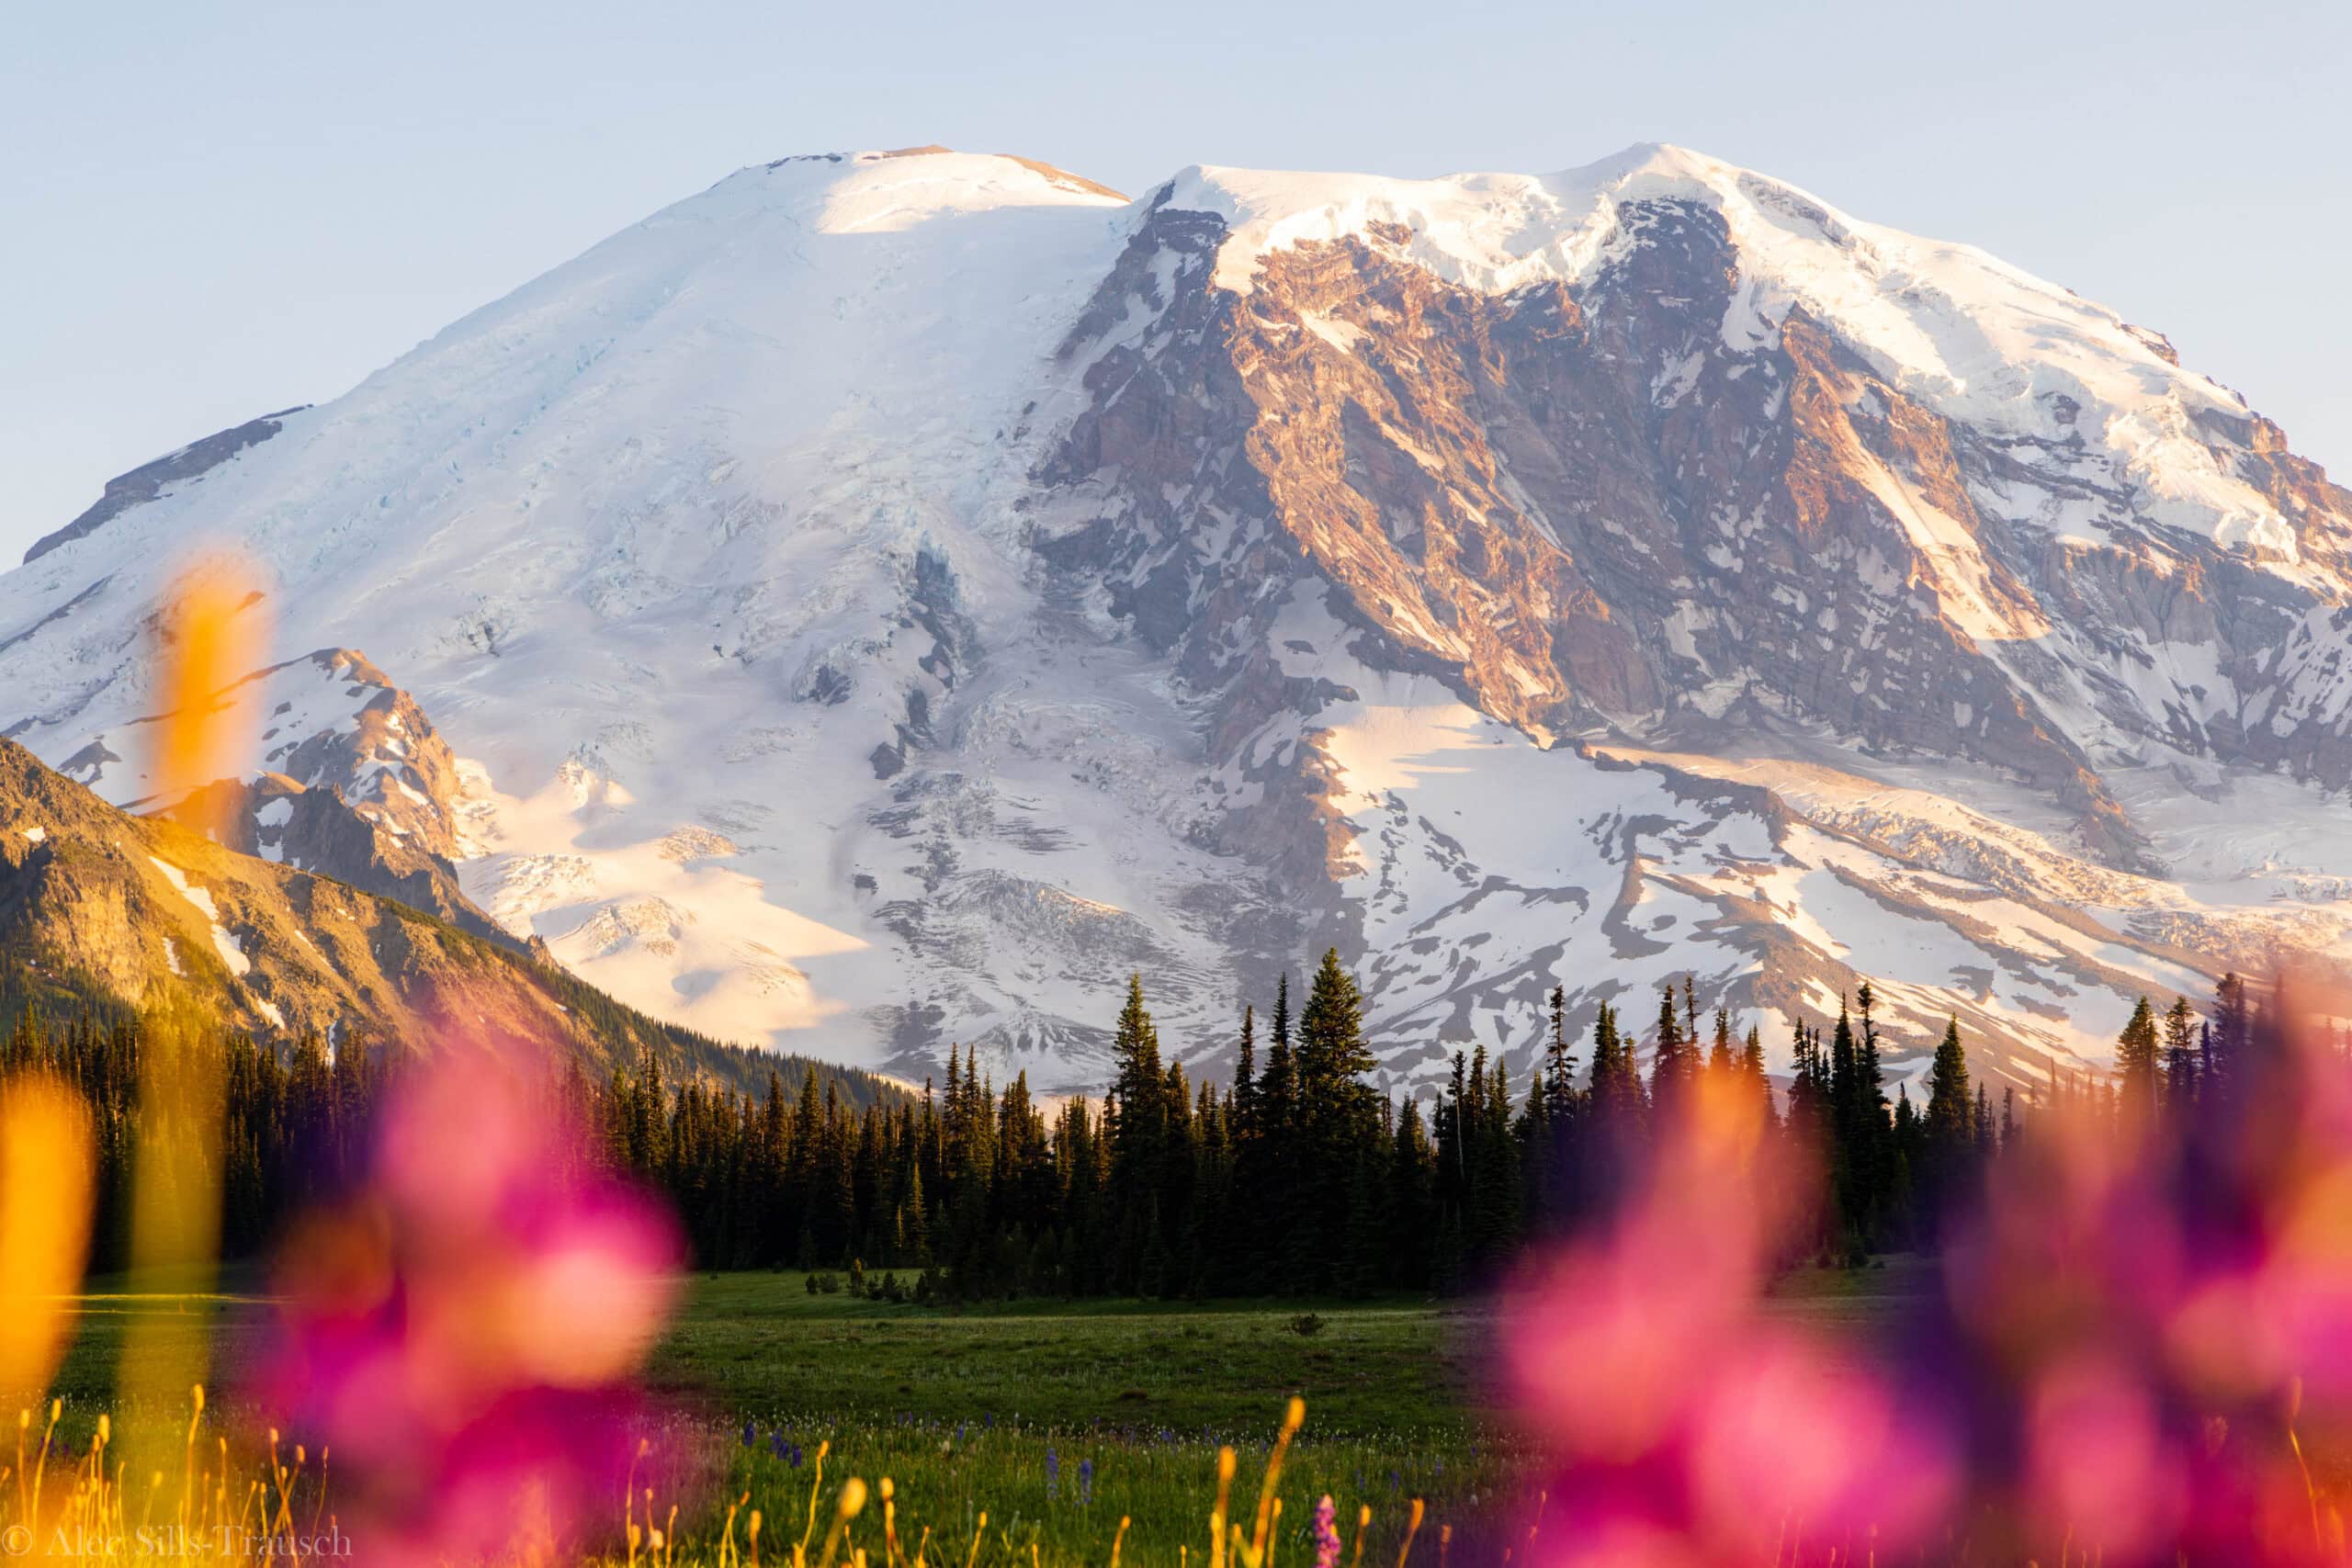
If you’re looking for a Mount Rainier itinerary, you’ve come to the right place! Between two and three hours south of Seattle, Mount Rainier National Park is one of my favorite places to explore, hike, and photograph. With close to a dozen visits under my belt and plenty of weekend trips to Mount Rainier, I’ve seen a lot of the park.
On the other hand, I’ve also hardly seen any of it, thanks to plenty of remote, hard-to-reach areas.
It’s what makes this place so special.
There are plenty of popular areas, and there are ways to explore without another soul around. This Mount Rainier itinerary aims to combine both, helping you see the best of the best and maximize your time in the park.
Before we dive in, a couple of things to note: this is geared for those who are up early and stay out late. With light in the sky pushing 9:30-10pm during the summer, you’re missing out on a lot of what makes the PNW special if you pack it in by 8pm.
Next up, this is a summer/fall hiking season itinerary. If you want help visiting in the winter, read my post here.
Easy Booking: Expedia.com | Hotels.com | VRBO | Booking.com
Need Gear: Find Gear at REI
Find Awesome Tours: Viator.com or GetYourGuide.com
Follow on Instagram: @Alecoutside
Iceland on your bucket list? Get my Iceland guide + 144 pinned locations on Google Map
Mount Rainier National Park Itinerary Options
Follow exactly what I did:
Our first Mount Rainier weekend, when we moved to Washington, consisted of camping at Ranger Creek Campground and doing one day on each side.
Friday:
Drove to the campground after work and set up camp at sunset.
Saturday:
- We hiked Naches Peak Loop around noon, then got into the Sunrise Visitor Center area once the crowds died down.
- Then, we hiked Burroughs Mountain out to the second bump for sunset and hiked back in the dark.
- Made dinner in the parking lot and got into bed around 11pm

Sunday:
- Woke up around 6:30am and packed up camp.
- Drove around to Paradise Visitor Center. Arriving around 8:30 and barely got a parking spot.
- Hiked the Skyline Trail counterclockwise.
- Drove back to Seattle in the early evening
Here are a few itinerary options, and feel free to combine and massage these into a great adventure! Also, remember, there is no timed entry permit in 2026. You are free to come and go as you please.
Planning a Weekend Itinerary at Rainier
Travel Day – Day 0:
It’s a travel day or maybe just a work day, and you don’t have the entire day free. I’m going to write this, imagining you don’t have the full day to explore.
Pick up your rental car or pack up your car. From Seattle to the northeast side, it takes about two hours. Make sure you get groceries either in the Seattle metro or at Safeway in Enumclaw.
One great hike just outside of the park boundaries is Grand Park. It’s a great introduction to the area. It’s a long dirt road, but any car should be able to make it. The trail is around 8 miles with 1,500 feet of gain.
If you’re limited on time, go check out Tipsoo Lake and walk around it to stretch your legs. You park directly next to the lake.

Explore the Sunrise Side – Day 1:
Let’s get to the fun part.
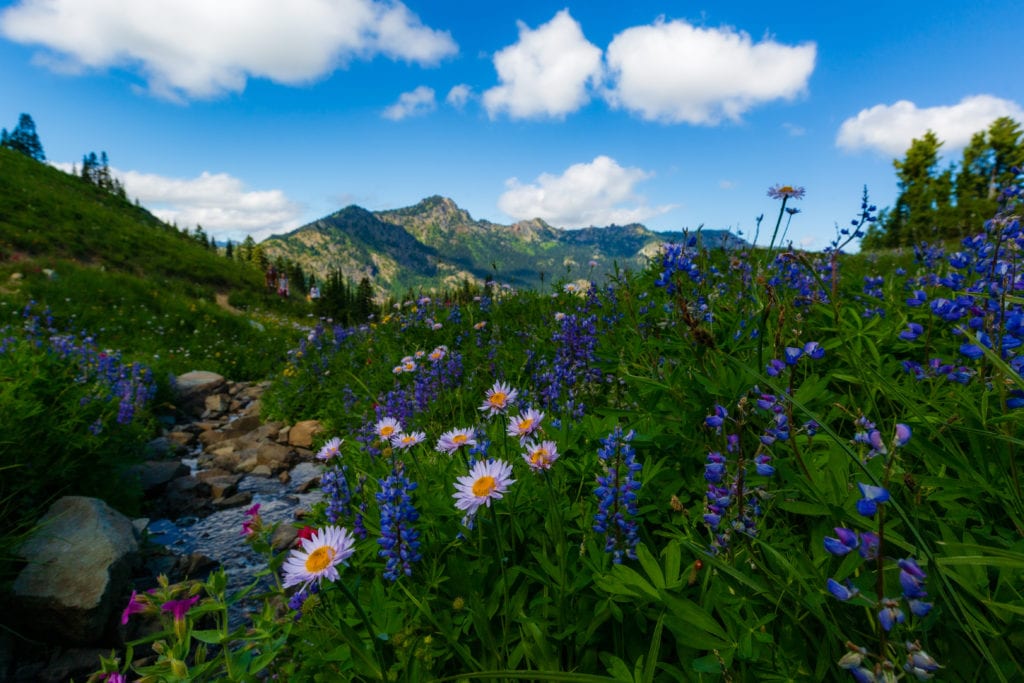
A nice hike to start the trip is the Naches Peak Loop by Tipsoo Lake. It’s six miles long and has lovely wildflowers. It’s a great, easy hike with nice views and is good for the entire family.
Hikes around the Sunrise Visitor Center:
- Dege Peak – Short hike, perfect for sunset or sunrise. 3 miles
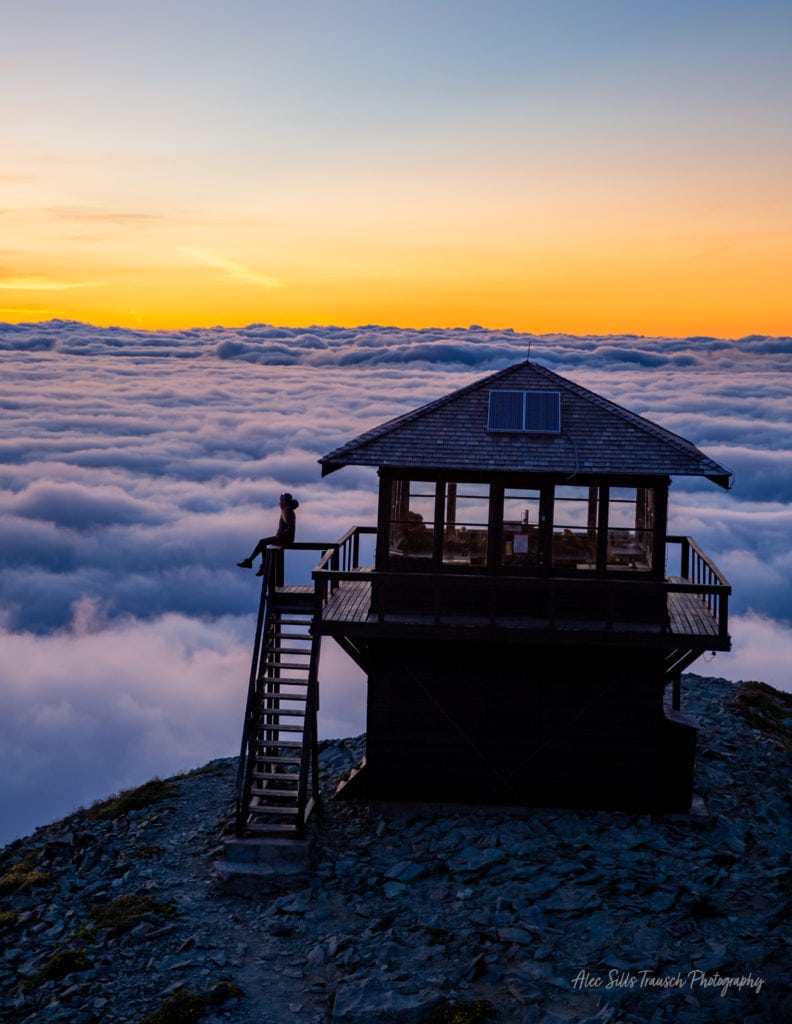
- Fremont Lookout – A classic, very crowded for weekend sunsets. 6 miles
- Burroughs Mountain – Longer hike, awesome views, far less crowded. 10+ miles
- Wonderland Trail – hop on the Wonderland Trail and go as far as you want
Fremont Lookout is excellent and highly worth it. If you’re not bothered by crowds or are not looking for solitude, it’s fantastic for sunset. Whichever hikes you choose, your Mount Rainier itinerary will be great.
Adventure around the Paradise Side – Day 2:
Let’s work our way around the mountain! Because there are no timed entry permits, the parking lot at Paradise Visitor Center will fill up fast on the weekends.
If you’re coming from the Sunrise side, make sure to stop at Reflection Lake. It’s a beautiful view that lets you stretch your legs after an hour of driving. If you need a chill spot for sunset, this is a great option.

Hikes around Paradise Visitor Center
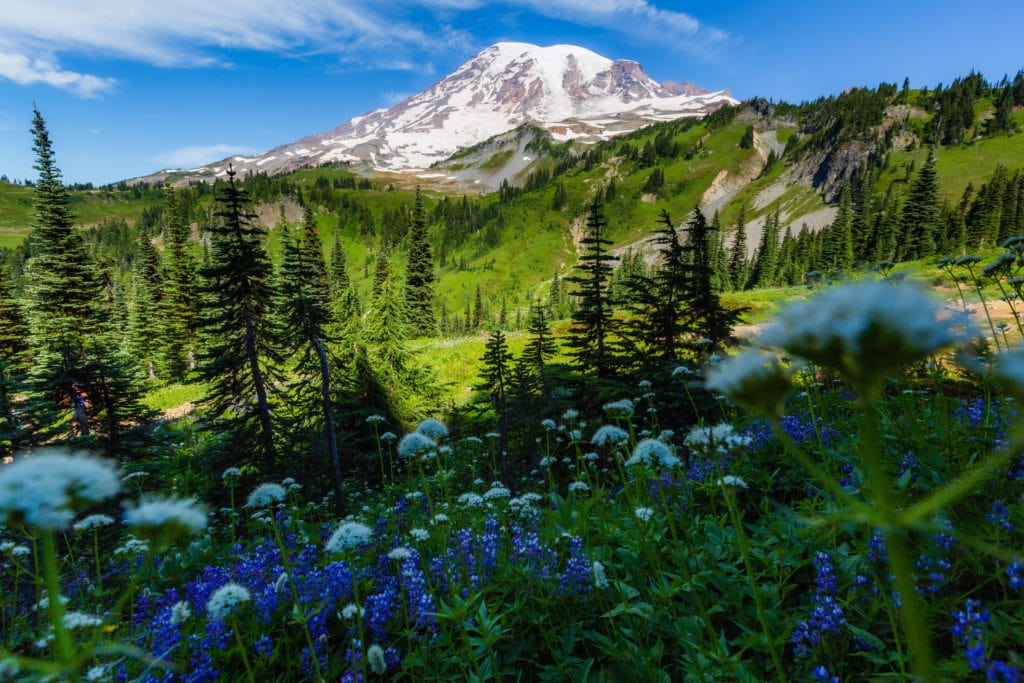
- Skyline Trail (Skyline Loop Trail) – the best bang for your buck hike in the area. It’s a 6-7-mile hike with 1,800 feet of elevation gain. Offers wildflowers, epic glacier views, Mount Rainier, and so much more. I like to go counterclockwise as it’s a more gradual uphill, but choose whichever works.
- Camp Muir – If you want the ultimate challenge hike, do the 8-10 mile hike to Camp Muir. There is over 4,500 feet of gain, but you’ll get up to Mount Rainier Base Camp. It’s super cool and offers magnificent views looking south.
- Pinnacle Peak – The one hike in the area I haven’t done yet. But it offers epic views looking across the valley and up at Rainier. 3 miles
- Carter and Mad Cap Falls – Down by Cougar Rock Campground, it’s an easy-moderate hike to see two waterfalls on the Wonderland Trail. 3 miles.
- Bench and Snow Lakes – Chill hike to two lakes; on a clear day, you’ll get Rainier reflection views. 2 miles
- Narada Falls – Quick stop and walk to see Narada Falls as you head out

Planning a 5-day Trip to Mount Rainier
The only difference is that we’ll spend multiple days on each side of the park and add one more on the northwest side.
Extra Day at Sunrise:
If you didn’t get to hike Grand Park, this is the day to do it! It’ll stun you, and in July, the wildflowers will be gorgeous. Or, choose to do either Fremont Lookout or Burroughs if you didn’t get to. If you want a much harder hike and fewer crowds, check out the hike to Summerland Camp.
It’s a perfect addition to the Mount Rainier itinerary.
Extra Day at Paradise:
While I think Paradise is beautiful, you’re limited with your hiking options. Other options to see on this side are High Rock Lookout (technically outside of the park), Emerald Ridge, or Gobblers Knob. You’ll have to exit the park near Ashford to access all of these.
Day 5 – Explore the Mowich Lake area (Currently Closed due to a bridge failure)
This region receives far less love than the rest of the park, but it’s stunning.
Here, you’ll gain access to Tolmie Peak Lookout (6 miles, 1,400 feet of gain), Spray Falls, and Spray Park(7-10 miles). There’s a long dirt road to reach it, but it’s in decent shape for any kind of car.
I strongly recommend it if you have the time to get out here. It’s cool to see a different side of Mount Rainier.

Things to Consider for Your Trip to Mount Rainier National Park
Only one road connects the south and east sides
Driving around Mount Rainier National Park is not the easiest. There’s only one road, Steven’s Canyon Road, that connects the Paradise area and the Sunrise area.
And it’s been under construction since 2022 and has been closed during the week. This means you would have to drive clockwise around the park, which would take multiple hours. Thankfully, it was open on the weekends.
As we head into the summer 2025 season, we’ll know more about road statuses then.
Campsites fill up FAST
A weekend at Mount Rainier is the perfect chance to camp under the stars. But everyone else has that mentality, too. Campsites are booked out very fast for the summer months – especially weekends, so if you’re looking to camp, make sure you plan ahead.
If you’re going to spend time here during the week (recommended), you’ll have a better chance of finding spots.

It’s quite rural
The interesting part about Washington is that almost everyone lives in the Seattle metro region, and no one lives anywhere else. It’s not at all balanced out, so when you visit the Washington National Parks, there is not much infrastructure in the area to support tourism.
There are some places to stay in Ashford and on the NW side of the park, but they fill up quickly and can be pricey. Just keep this in mind as you plan your Mount Rainier itinerary.
Best time to visit Mount Rainier?
The Sunrise side doesn’t usually open up until the end of June. Paradise is open year-round, though it’ll hold snow until at least mid-May. I’d say the optimal visitation times to plan your Mount Rainier National Park itinerary are mid-June through mid-October (great fall colors).
July and August are perfect for the best weather, wildflowers, and long days. But it’s also the most crowded. If you’re looking to minimize the crowds a bit, the weekend after Labor Day weekend won’t have timed entry permits, and the crowds will be thinner.
How many days at Mount Rainier?
Honestly, at least two full days here, but if you can get three days, it’ll really allow you to see more of the park and not be rushed.
There is SO MUCH to see, and I know you’ll want to pack your Mount Rainier itinerary full. That said, allow yourself some time to enjoy the place.

If you only have one day…
I would aim for the Sunrise Visitor Center zone (north side) and hike either Fremont Lookout or Burroughs Mountain. On a clear day, you have stunning views looking north towards Glacier Peak and Mount Baker and get to experience the grand scale of Rainier.
Where to stay around Mount Rainer National Park
Lodging for a weekend at Mount Rainer:
The best options are in Enumclaw, the NE side of the park near Crystal Mountain, the SE side in Packwood, and around Ashford near the south entrance.
You can find places ranging from $120 a night all the way to $350. I usually opt to camp when planning my Mount Rainier itinerary due to the high prices.
Camping for your Mount Rainier National Park itinerary:
Mount Rainier National Park has four main campgrounds, though availability varies by season and demand. Here’s a breakdown of each:
1. Cougar Rock Campground
- Location: Near Paradise, on the southwest side of the park
- Season: Typically open late May – late September
- Sites: 173 individual sites, 5 group sites
- Features: Close to Paradise and Longmire, tent and RV sites (max 35 feet), potable water, flush toilets
2. Ohanapecosh Campground
- Location: Southeast side of the park, near the Ohanapecosh Visitor Center
- Season: Typically open late May – late September
- Sites: 188 individual sites, 2 group sites
- Features: Located in an old-growth forest, no RV hookups, near Silver Falls and Grove of the Patriarchs
3. White River Campground
- Location: Northeast side of the park, near Sunrise
- Season: Typically open late June – late September
- Sites: 88 sites (first-come, first-served)
- Features: Close to Sunrise hiking trails, tent and small RV sites (max 27 feet), no potable water in off-season
4. Mowich Lake Campground (Primitive)
- Location: Northwest side of the park
- Season: Typically open mid-July – early October (dependent on snow)
- Sites: 10 walk-in sites (first-come, first-served)
- Features: Primitive camping, no potable water, no RVs, access to backcountry trails like Tolmie Peak
Since reservations are required for Cougar Rock and Ohanapecosh, it’s best to book early through Recreation.gov. White River and Mowich Lake are first-come, first-served.
There’s also dispersed camping at Ranger Creek Campground if you can’t get a reserved camping spot. The road here can be tricky with massive potholes, so take it slow and be careful. I find it’s the best place for a last-second trip with this Mount Rainier itinerary.

Summer hiking gear for your weekend at Mount Rainier National Park
Come prepared to hike at Mount Rainier National Park. Don’t forget to pack these for your adventure weekend at Mount Rainier.
- Wide-brimmed hat
- Sunglasses
- Sun shirt or sun hoodie
- Hiking Shoes or Trail Runners
- Hiking Shorts or Hiking Pants
- 25L+ Hiking Pack
- 2L hiking bladder or water bottles
- Garmin inReach 2
- Garmin Fenix hiking watch
- Light jacket for mornings
- Hiking Poles
Wrapping up your Mount Rainier National Park Itinerary
Thanks for reading my Mount Rainier National Park itinerary. I hope it helps you plan out an incredible trip to the area. Mount Rainier National Park is truly one of the best places in the country. You’ll love every moment walking amongst the trees, smelling wildflowers, and having your jaw drop at how big the mountain is.
Until next time, adventurers, stay safe.
Follow on social media: TikTok || Instagram || Facebook || Newsletter | YouTube