How to Stop Camera Shake and Take Sharper Photos in Any Conditions
Is it camera shake or is it shaky hands? If you feel like your hands shake when you take photos, you’re not alone. Many photographers think they have shaky hands, which results in blurry photos, especially in low light when their shutter speed has slowed way down.
I mean, I’ve had my fair share of terribly blurry photos due to all sorts of reasons.
For many, though, it’s not really your shaky hands. Most of the time, you’re pushing your camera too hard in low light, and the results are blurry because you’re human and you move slightly. Luckily, there are easy solutions to your blurry photos that you will love.
Inside, we’re diving into how to reduce camera shake, sharpen your photos, and give you lasting tips to ensure you land stunning photos no matter the day, temperature, or conditions.
Why Your Photos Are Blurry (It’s Not Always Your Hands)
Your Shutter Speed Is Likely Too Slow
The most common reason your photos look soft or blurry isn’t shaky hands. It’s the shutter speed.
When you press the shutter, the camera’s sensor is exposed to light for a certain amount of time. If that time is too long, even the tiniest movement from your hands gets recorded as a slight blur. The longer the shutter stays open, the more movement it captures.
That’s where the Reciprocal Rule comes in.
See everything in my camera bag
The Reciprocal Rule Explained
A simple rule photographers use is: set your shutter speed to twice your focal length.
In practical terms:
- If you’re shooting at 24mm, use at least 1/50 sec.
- If you’re shooting at 50mm, use at least 1/100 sec.
This is an easy way to reduce camera shake and capture sharp images. This, though, is just a guideline. If you feel confident in your ability to hold your camera still, feel free to break it when you need to.
Real World Example: 24mm vs 200mm
Let’s say you’re photographing a mountain.
At 24mm, you can often get away with 1/50 sec or even 1/40 sec if you’re steady. Wide lenses hide small movements because the field of view is broad. Minor shake isn’t magnified very much.
Now switch to 200mm (the 70-200 is one of my favorite lenses, by the way). That same small hand movement is far more noticeable. At 200mm, shooting at 1/50 sec will almost always result in a blurry image. You’d want at least 1/400 sec, and honestly, 1/500 or faster if you’re tired, cold, or hiking.
Related Photography Articles:
Best Mirrorless Cameras + Entry-level ones
Top Lenses for an African Safari
Which Memory Cards Should You Choose
Why This Rule Works
When you zoom in, you narrow your field of view and magnify your subject. You also magnify your hand movement.
Think about holding binoculars. Even slight tremors look dramatic when zoomed in. Your camera works the same way.
A Note on Image Stabilization
Modern cameras with IBIS or stabilized lenses can let you shoot slower than the reciprocal rule suggests.
At 24mm, you might get sharp shots at 1/10 sec.
At 200mm, you might get away with 1/200 sec instead of 1/400.
But stabilization does not freeze moving subjects. It does not fix extreme shake. It does not replace proper shutter speed. Shutter speed is still your foundation.
Still, the stabilization in new cameras and lenses is incredibly effective. I’ve sometimes bumped my stabilization on my Canon 100-500, and my photos have been blurry when they usually aren’t. So, an easy tip: always check whether your lens’s Image Stabilization is on.
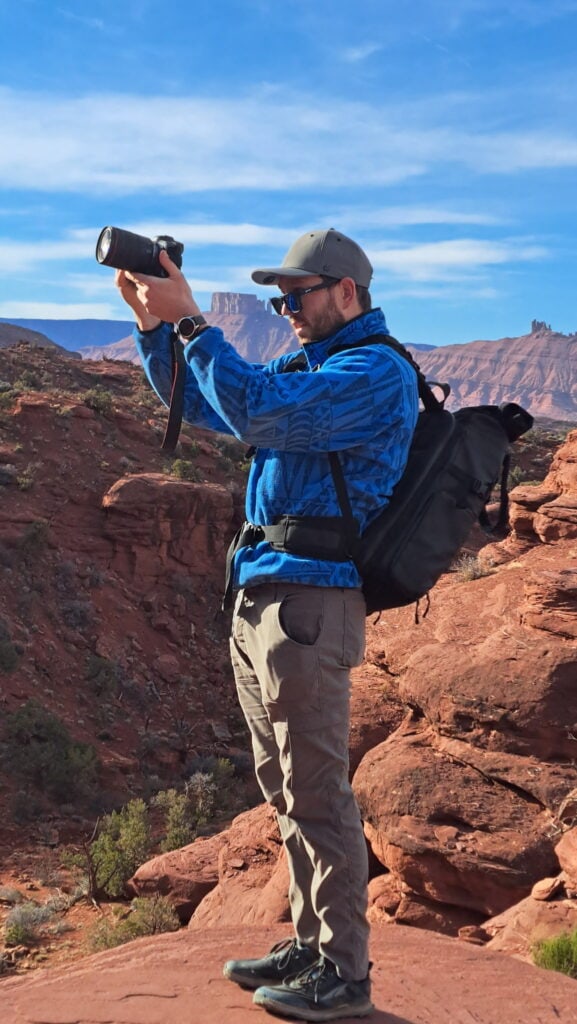
How I Try to Reduce Camera Shake in the Outdoors
When I’m shooting landscapes handheld (which is 95% of the time), with a lens under 35mm, I aim for 1/50-1/100 sec or faster. Between 70 and 200mm, I aim for 1/250-1/400 sec or faster. For wildlife, I aim for 1/1000 sec or faster.
But remember, there are no set camera settings. It all depends on the light around you. In the early morning or the evening, less light means a lower shutter speed, a higher ISO, or a lower aperture (wider).
When in doubt, bump your ISO up to compensate for a higher shutter speed. A clear shot with extra grain is always better than a blurry photo with no grain.
The #1 Rule to Eliminate Camera Shake
Shutter Speed Guidelines
Here’s a quick table to help you understand how slow or fast your shutter speed needs to be to reduce camera shake when taking photos.
Focal Length | Ideal Minimum Handheld Speed
16mm| 1/30
24mm | 1/50
50mm | 1/100
200mm | 1/400
500mm | 1/1000
Though I would honestly say if you’re at 500mm, going to 1/1200 is a safer option, as when you’re zoomed in that far, the slightest movement can make things less sharp.
How to Hold a Camera Steady (Techniques That Actually Work)
As we’ve beaten the camera portion of a steady shot to death, let’s chat about what you, as a human, can do to reduce shaking camera photos. This isn’t necessarily needed for mid-day photography.
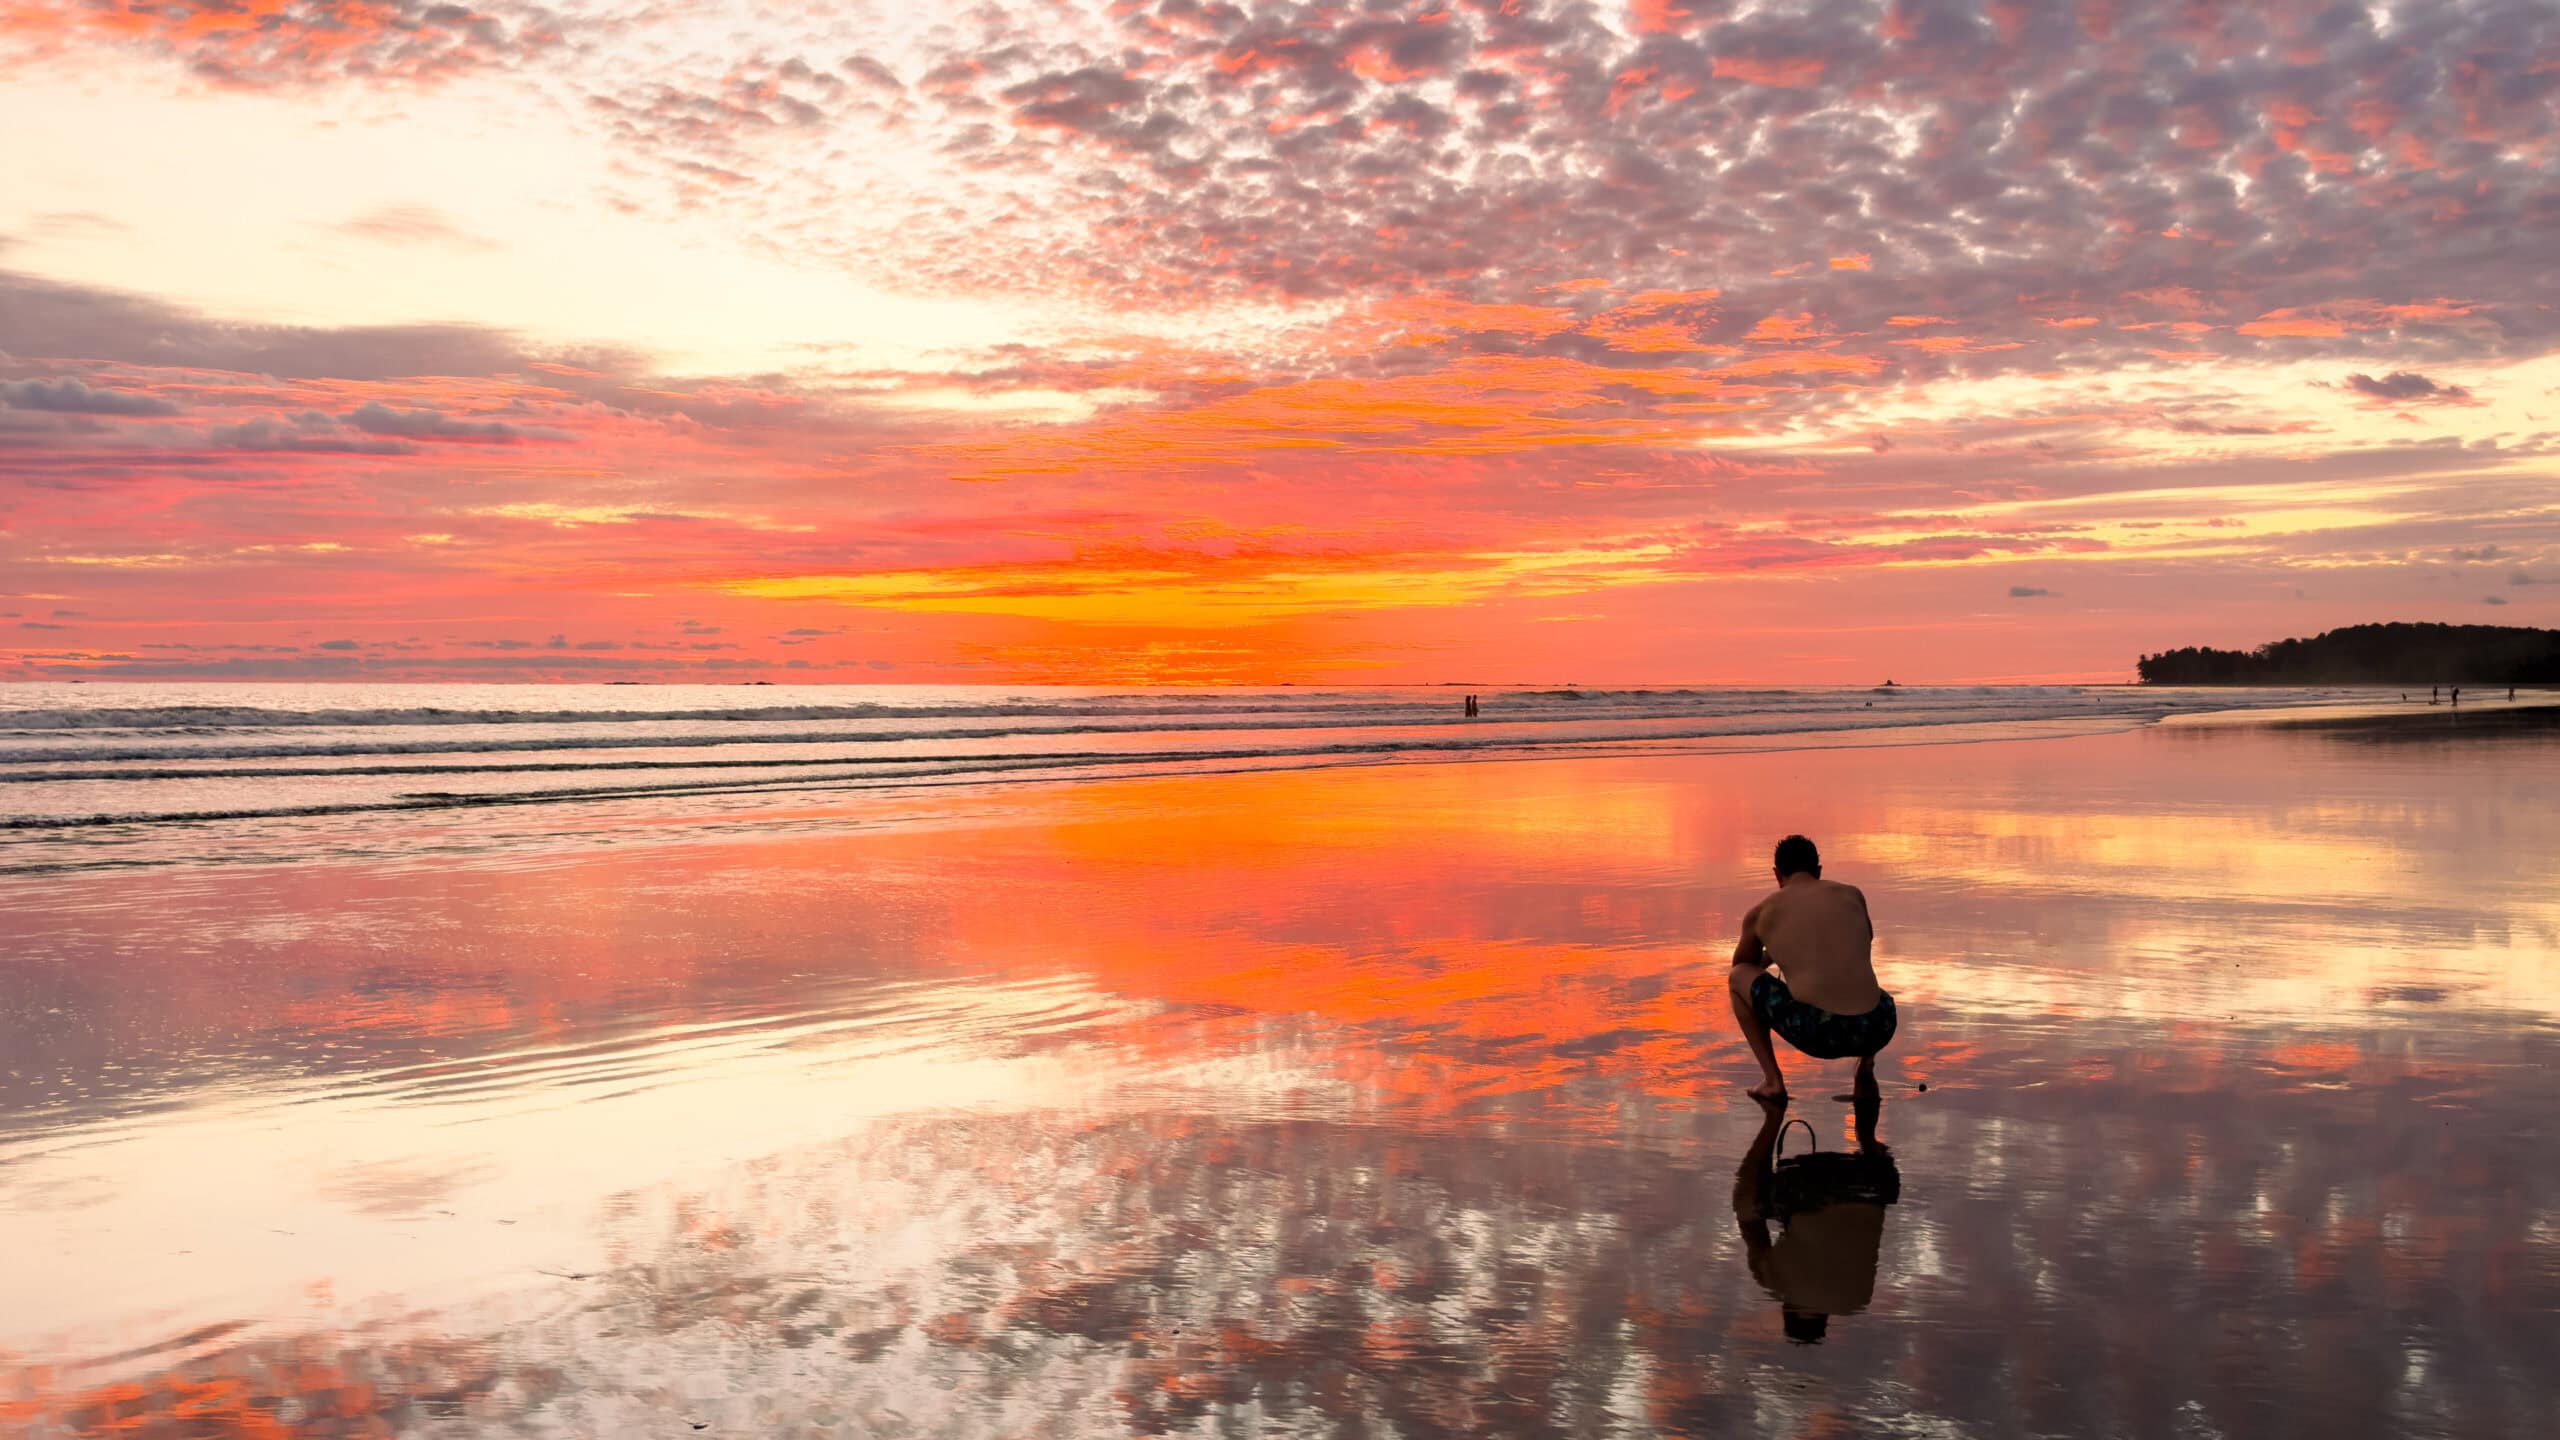
Think of this: when the sun is low on the horizon, there’s not much light in the sky, and you really need to focus on keeping still.
Tuck elbows into ribs
One of the easier and better options is to get your elbows close and hug your body with them. This will help eliminate any shakes and keep you composed.
Exhale slowly before pressing the shutter
Another great option. Before snapping the photo, take a second to breathe and relax. This will help reduce camera shake and let you nail the shot.
Use the viewfinder instead of the rear screen
I use this one a lot when the light is low. Usually, I take photos looking at my screen, but this can cause blurry photos when I’m pushing it during sunrise or sunset. To get around this, look through your viewfinder. It’ll help stabilize your camera as it is pressing against your head.
Widen stance
Another good one. Giving yourself a wider center of balance will activate more of your core, helping you maintain overall stability. Get your feet shoulder-width apart and bend your knees a smidge.
Lean against something
If you’re really worried about shaky hands for your photos, leaning up against a tree or rock could help. I don’t think I’ve ever done this before. But theoretically, it could work.
Use Burst Mode to Outsmart Shaky Hands
Burst mode is a nice way to mitigate any camera shake when taking photos. This is because it rapidly takes images in a row. You can choose which camera setting your camera is on (Canon has High+ Continuous, High Continuous, Low Continuous, and One Shot).
Most cameras are in the 15-30 frames per second at their fastest. But then there’s the Sony A9 III, which can shoot at 120 frames per second. (This isn’t what I recommend for landscape photography.)

But the general idea is still good. More photos taken in sequence reduce the chance that one of them is blurry. I would say use your burst mode for 3-7 photos. Then, look through them and delete any that are bad.
Again, this isn’t needed midday. This is when you think your photos might be blurry from camera shake due to a low shutter speed or maybe windy conditions.
When You Actually Need a Tripod (And When You Don’t)
I carry a tripod almost everywhere I go, but don’t use it too often. That doesn’t mean you can’t use it… It just isn’t always practical to set it up. But as the Boy Scouts say, it’s best to be prepared.
Below are the times when using a tripod is preferred or absolutely necessary.
Landscape at Sunrise/Sunset
When the sun is just coming up, and you’re looking to capitalize on the soft light, using a tripod is preferred. This allows you to slow down your shutter speed and keep your ISO as low as possible. This reduces grain and ensures your pictures are crisp and beautiful.
This also allows you to shoot with a smaller aperture (say f/8 vs f/2.8), giving the entire photo a more focused look.
Easy Booking: Expedia.com | Hotels.com | VRBO | Booking.com
Need Gear: Find Gear at REI
Find Awesome Tours: Viator.com or GetYourGuide.com
Follow on Instagram: @Alecoutside
Iceland on your bucket list? Get my Iceland guide + 144 pinned locations on Google Map
Long Exposure and Night Photography

The only way to do long exposure photography correctly is with a tripod. Long exposure photos are those with shutter speeds of 0.3 or slower. It means the camera is open, absorbing light. And because of this, any shake is felt and noticed.
It’s why a tripod is needed to eliminate all shake.
The three main reasons for long exposures are:
- Astrophtography (including photographing the Milky Way – get my free guide here)
- Northern Lights (Get my free guide here)
- Waterfalls and water
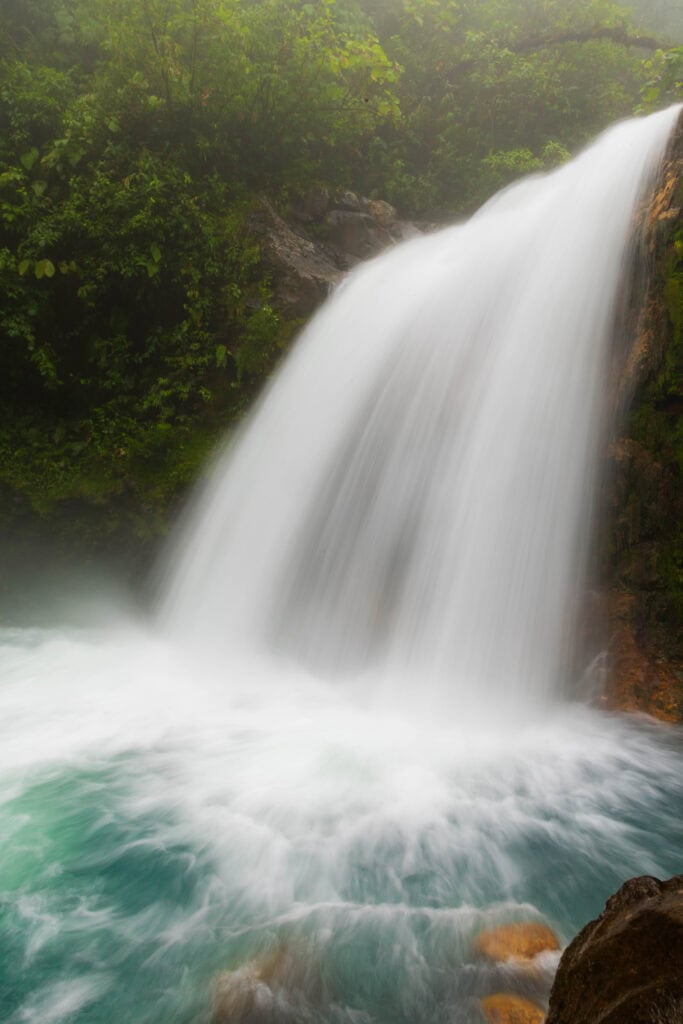
For those wanting silky-smooth waterfalls, a tripod is the best way to achieve sharpness. You’ll either want an ND filter to darken the image if it’s a sunny day. Or, if it’s cloudy or the sun is low on the horizon, set F/18-22, ISO 100, and put your shutter speed around 0.5 seconds.
Telephoto Wildlife

Let’s say you’re shooting with a 400mm lens. As we learned above, you should be shooting at 1/800 when handheld. Midday, this is fine. But as the light dims, your images will get darker, so you’ll need to bump up your ISO and widen your aperture.
But if you can stabilize your lens, you can lower your shutter speed, making your photos more exposed. While a tripod is ideal, if you’re photographing on a safari, I would suggest a monopod. It takes up less room and is more mobile.
One tip: don’t bring down your shutter speed too much. This will create a blur if an animal moves.
- The lightweight travel tripod I bring on backpacking, hiking, and travel trips – See it here
- Budget tripod for those who don’t want to break the bank
- Carbon fiber option – More expensive, but lightweight and dependable
- Aluminum Peak Design Tripod
If Your Hands Naturally Shake (Tremor, Caffeine, Nerves, the Cold)
If you truly do have shaky hands when taking photos, that’s alright, and it happens. Using the lessons we’ve covered here will help you move past that.
Here are a few suggestions to counter shaky hands during your photography.
- Faster shutter priority – instead of doubling your shutter speed, triple it.
- Auto ISO strategy – set your ISO to auto to ensure the scene is properly illuminated. The risk here is paying too little attention and accidentally shooting at ISO 8000.
- Lighter lenses – This is lower on the priority list, but heavier lenses will fatigue your arms sooner and lead to more shake. Choosing lighter lenses can help keep your arms fresh.
- Monopod – An easy-to-set-up and use monopod is great for adding just a little support to your photography and reducing any shaky hands.
- Remote shutter – Using a remote shutter in addition to a tripod means that you will never
Best Gear for Reducing Camera Shake + More
Looking for gear to help reduce your camera shake and land you crisp, clear photos? Here are some tripods and camera accessories I trust in the field.
- My Go-to Travel Tripod
- Top Carbon Fiber Tripod
- Great Monopod
- Easy to use Remote Shutter: Canon | Sony | Nikon
- Get the Peak Design Clip. My go-to on every hike
- Need a camera bag? Check out the Peak Design bag (get the 30L)
- Going someplace wet? Get a Shell Cover
Quick Checklist to Instantly Fix Camera Shake
Here’s an easy-to-digest and easy-to-remember checklist for fixing camera shake and landing the shot!
- Increase shutter speed
- Stabilize your body by holding your breath, focusing, or tucking your elbows in
- Use burst mode to rapidly take photos to hopefully negate any shake
- Reduce the focal length and then crop in later
- Add stabilization with a tripod, monopod, or by resting it on a rock, the ground, or a fence
Final Thoughts on How to Fix Shaky Hands in Your Photography
As we’ve learned, there’s no need to fret about how to fix shaky hands in photography. Typically, it’s about learning how to best use your camera and have it work with you, not against you.
It’s about learning to create shots that stand out by dialing in your settings. It’s having a good tripod for stabilization. And it’s slowing down.
If you take these steps, you’ll ace the final test and produce some stunning images.
Until next time, adventurers, stay safe.
Follow on social media: TikTok || Instagram || Facebook || Newsletter | YouTube